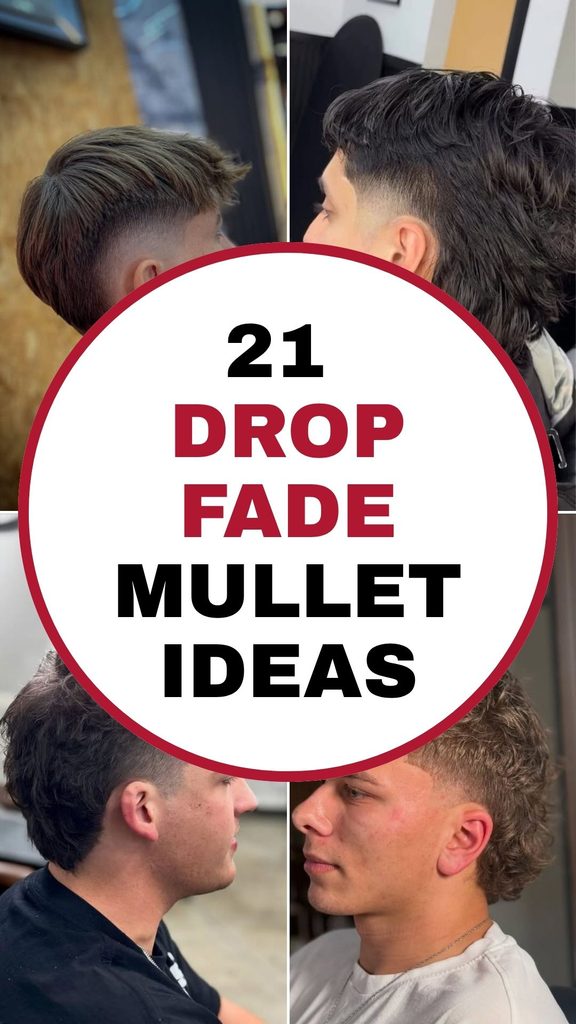
A drop fade mullet can seem fine in a photo and still go wrong once the fade sits too high.
That’s the problem: you know the haircut you like, but you’re not sure which version would work for you.
You can adjust the fade height, skin exposure, crown length, back width, texture and overall length for a softer or more aggressive outcome.
This article will tell you what separates each decision, what to keep in mind before getting the cut and 21 ideas to try.
Let’s jump in!
Which Hair Types Work Best With a Drop Fade Mullet?
Your hair type impacts the way a drop fade mullet sits, moves and retains its shape, so choose the variation around your texture first.
Wavy hair is one of the easiest matches because it already has movement through the crown and back.
It’s okay to have curly hair, but you need to have enough length so that the curls form and the back doesn’t look too short when it shrinks.
If you have straight hair, you can get a sharper, cleaner mullet, although layering and point-cutting are usually helpful to keep it from seeming flat.
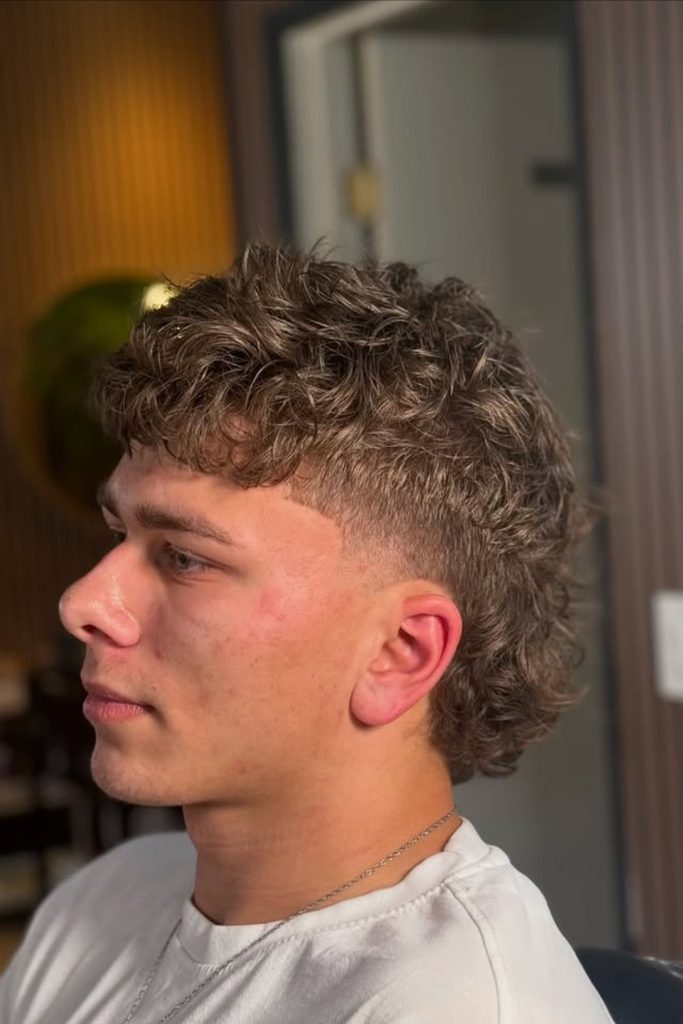
Let Curls Lead
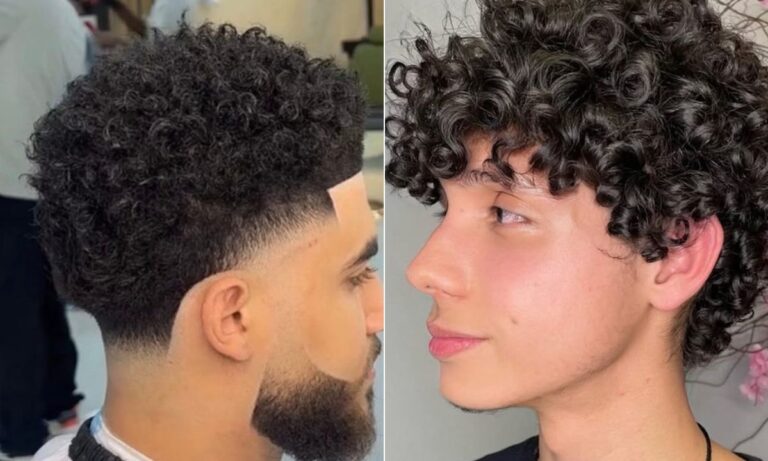
If you have naturally curly hair, leave additional length in the crown so the texture builds structure without adding bulk to the back.
Ask for a softer drop around your ear, since if it’s cut too high, the textured back can appear narrow and disjointed.
Curl cream or light paste can also be used for daily styling to define separation, while leaving the mullet fluid rather than stiff or overly styled.
Keep Some Weight
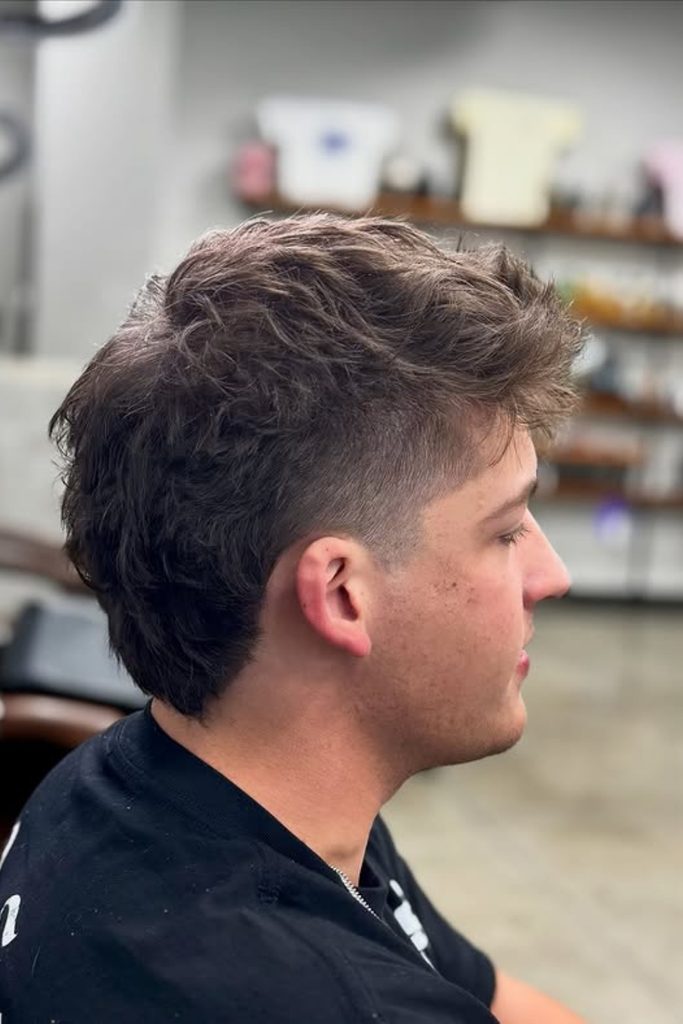
If your hair is thick then don’t go for the shortest fade. A little darkness above the ear will assist the back connect better.
Instead of flattening the crown, remove the bulk so the lengthier section still has movement and you don’t create a hefty shelf behind.
This technique works if you want a wearable mullet that still looks full until the sides start to grow out.
Protect The Back
You can have the back longer, but it only works if the barber knows where to stop cutting before the clippers get to the fade.
Leave plenty of crown length for a bridge into the tail, since a short piece might make the mullet look like it was added on later.
Layering through the ends will give movement for straighter hair without thinning out the back so much that it loses its presence.
Use Contrast Carefully
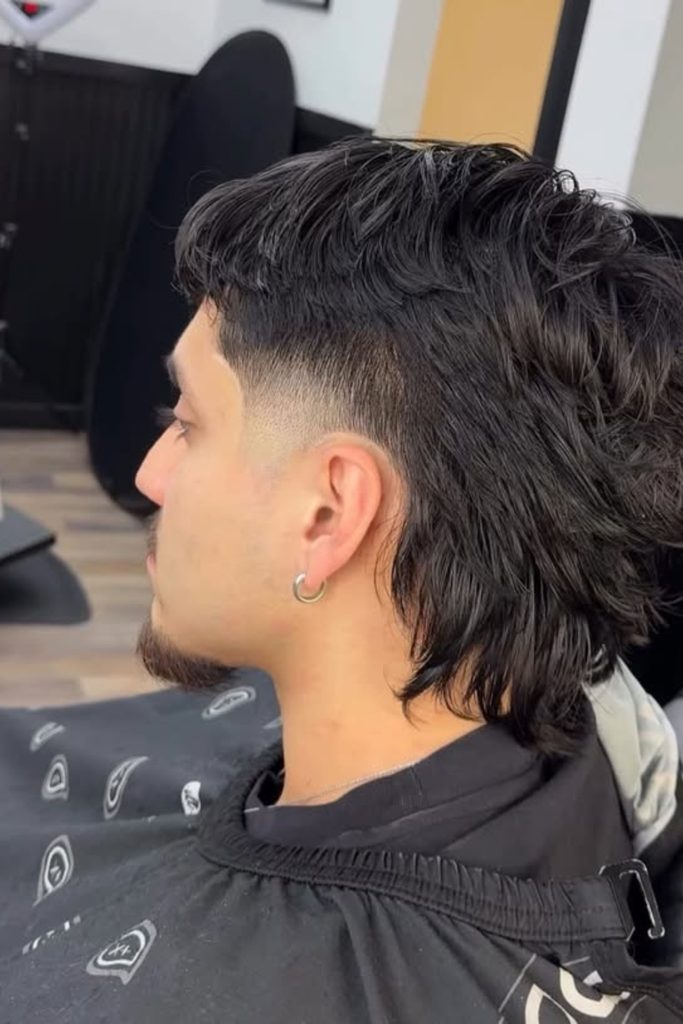
This haircut is a stark contrast with a skin drop fade, but also shows regrowth quicker than a smoother shadow finish.
Leave the top and back textured to avoid the remaining hair feeling too harsh or detached from the sharp sides.
Get this version if you want to keep it cleaned up a lot. The fading gets dull really fast if you start to grow stubble.
Keep The Tail
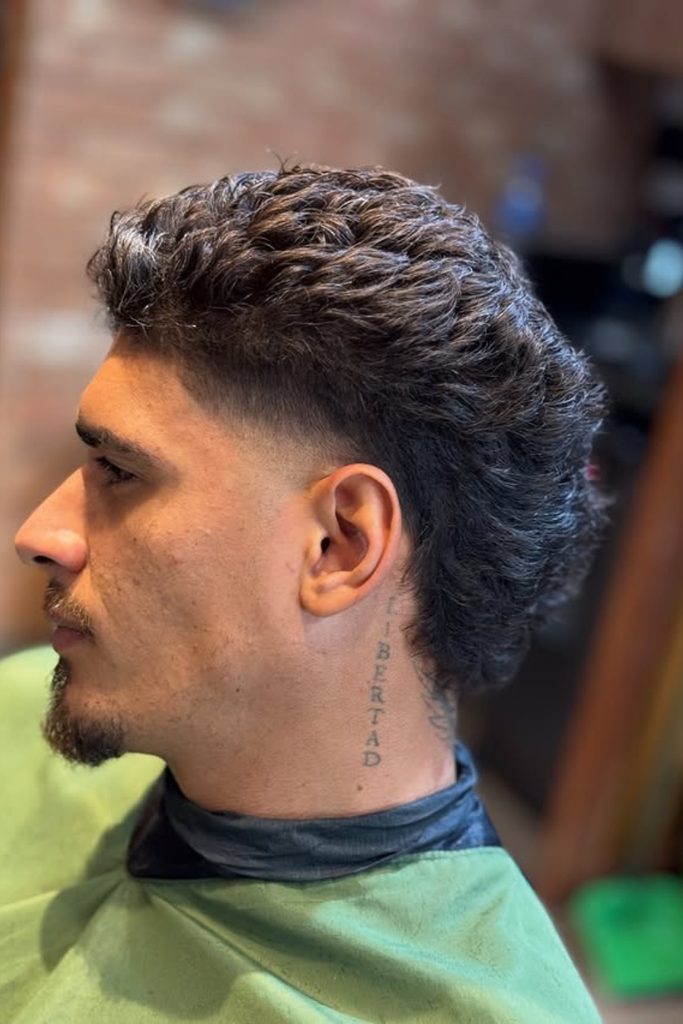
If you want a shorter mullet, make sure you leave enough length on the neck so the back still reads properly after the sides are faded.
A tight drop is recommended here, keeping the upper sides integrated and not giving the haircut a chopped-off look.
This design is for those who desire a mullet character but don’t want the commitment of a lengthy back that requires extra style every morning.
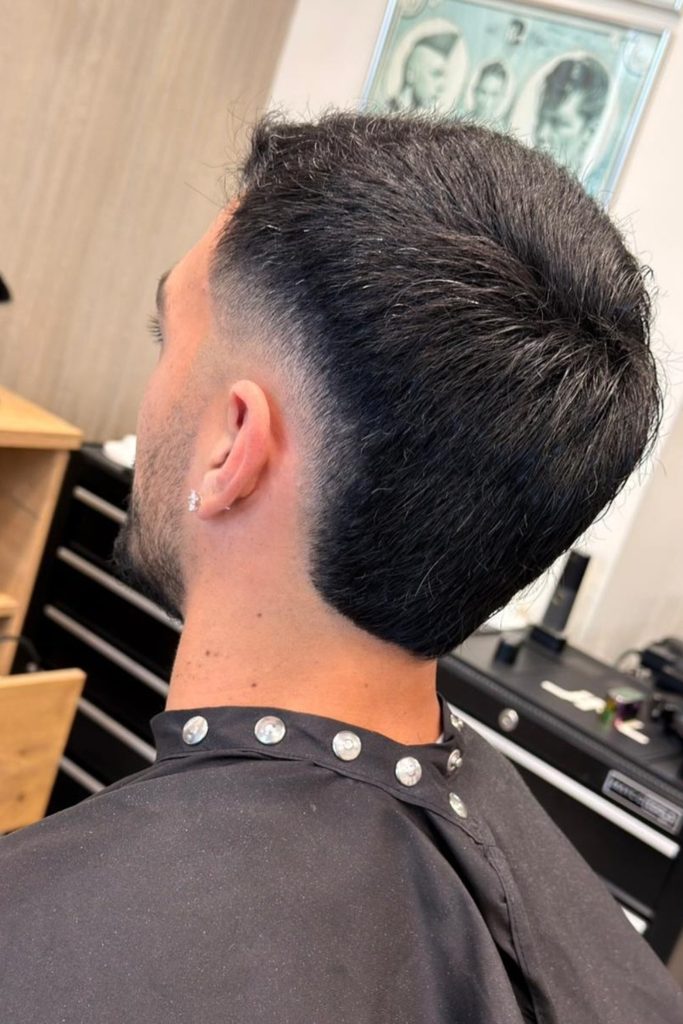
Build A Fuller Back
If your hair is straight and thick, some extra width through the back might help avoid a short mullet looking too skinny.
Ask your barber to taper the edges but not to carve too deeply into the back so that the silhouette remains full behind your ears.
This version grows out more organically since the back has enough weight to keep its shape in between regular cleanups for fades.
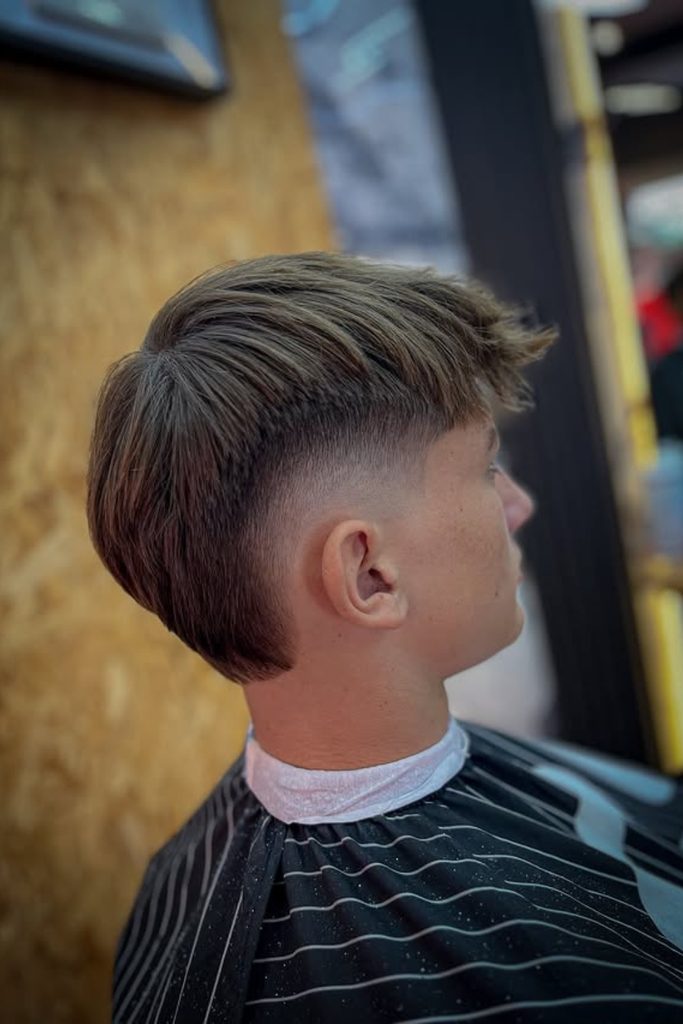
Push The Texture
A longer mullet can take more texture, especially if the top and crown are layered enough to keep everything going backward.
Keep the fade neat around the ear but do not take it so high that you lose width in the longer back.
Instead of smoothing down layers with pomade, run a little amount of matte paste into dry hair for a more textured look.
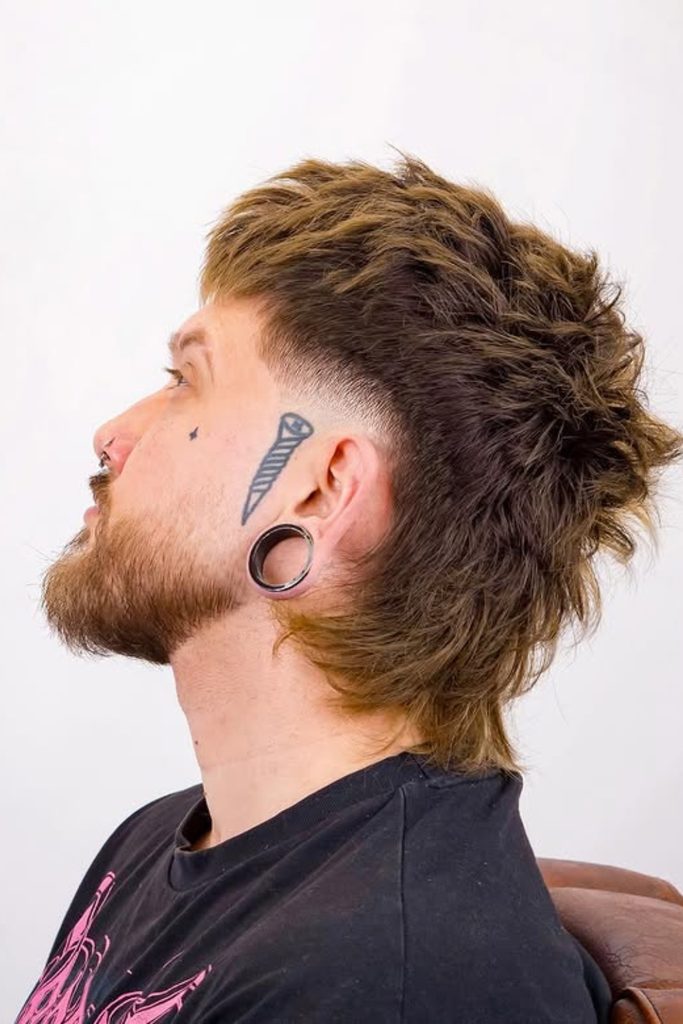
Keep It Soft
If you want additional length but not an abrupt contrast, go for a gentler drop that leaves some darkness above and behind the ear.
The longer layers through the crown allow straight or slightly wavy hair to fall toward the back instead of an apparent shelf.
This is a softer option to grow out as the softer sides mix better as they get longer between trips to your barber.
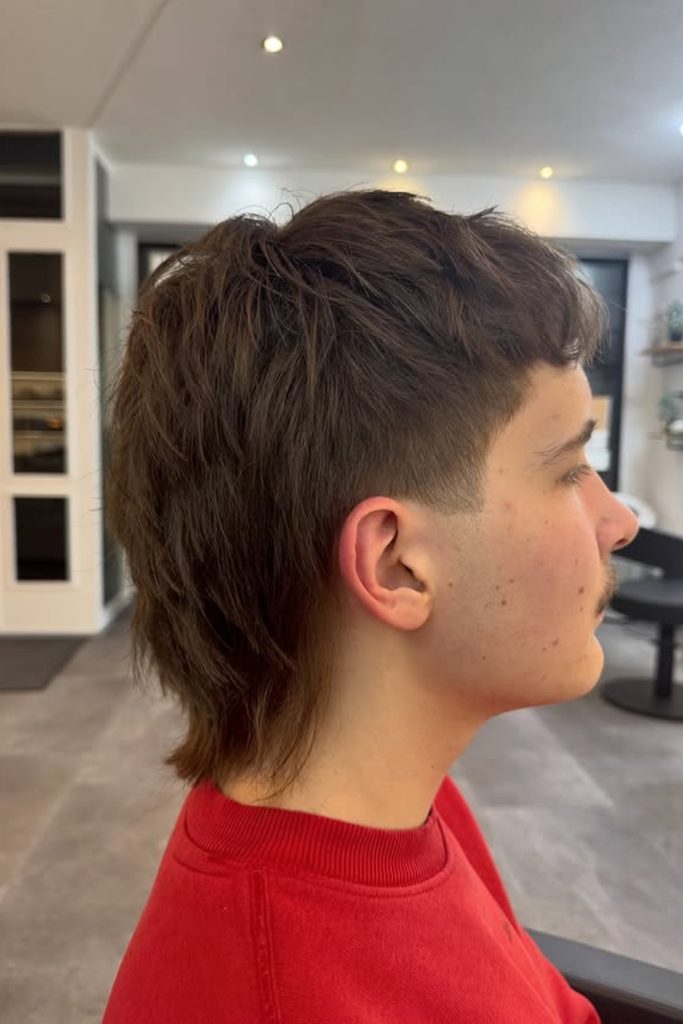
Let Texture Carry
If you prefer a more relaxed look, leave the crown strongly textured so the haircut moves without requiring styling perfection each day.
A lower fade will assist keep more weight behind the ear which will help the back seem linked rather than a small strip.
Let the natural separation do most of the work during the longer length, and use a light matte product only on the ends.
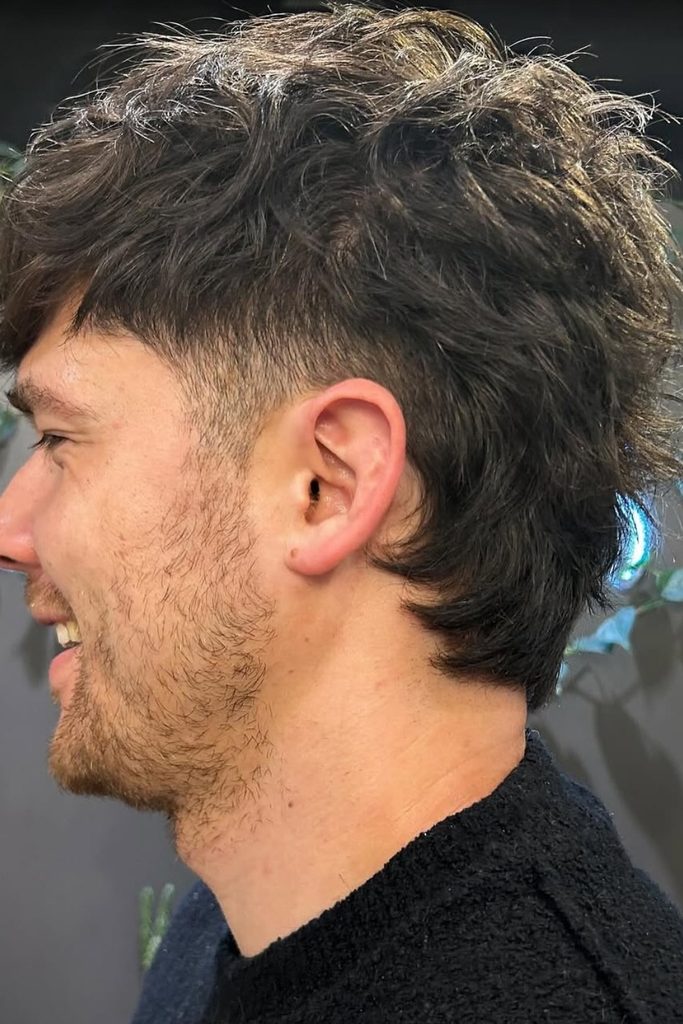
Shape Straight Hair
If you have straight hair ask for controlled layering through the back so the shape stays tidy but not super blunt.
The tighter drop around the ear gives contrast, but the density above it stops the haircut from being too severe overall.
This version works better if the back is curved rather than substantially thinned down, if you want a fuller silhouette later on.
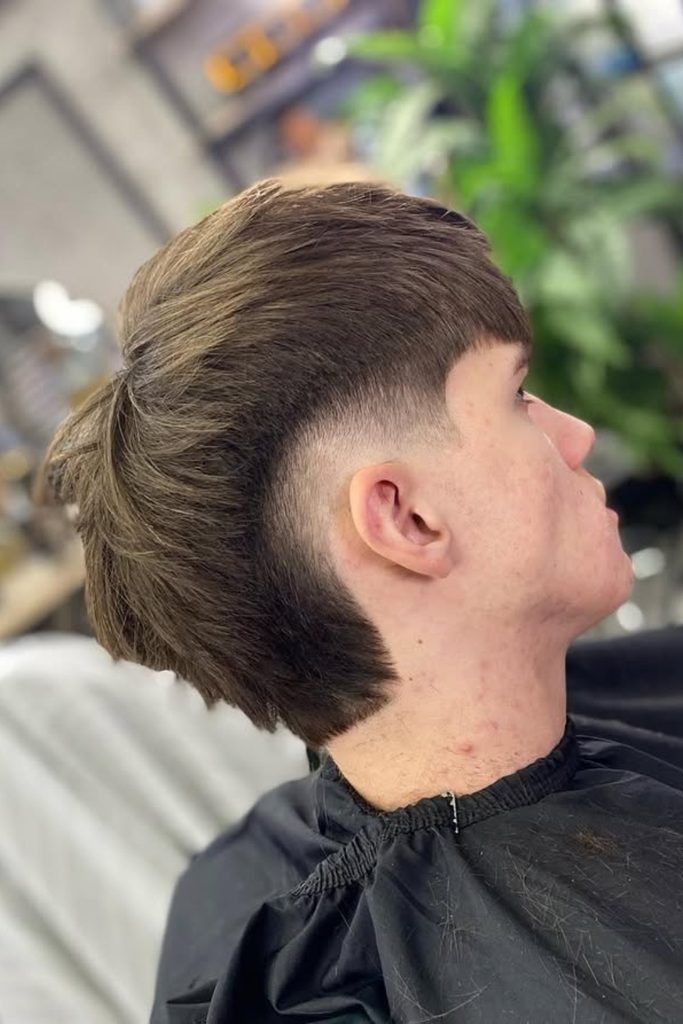
Give Curls Room
The thick curls keep the texture expressive with extra length on top, while the faded sides keep the undesirable bulk away.
Tell your barber to nicely blend it into the crown because a harsh transition might make the top look like it’s detached from everything behind it.
Let your curls loosen naturally or diffuse them gently and then apply just enough cream to define without squashing out the volume.
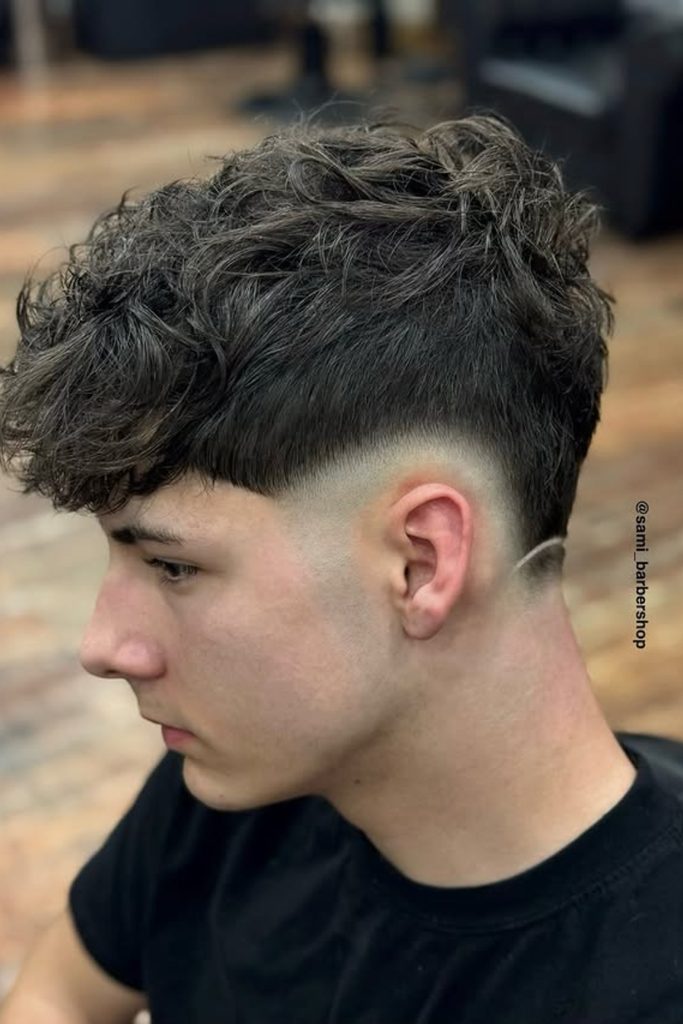
Keep Length Controlled
Keep the back medium for a crisper modern feel and let the fade take out weight particularly around the ear.
Soft layering through the crown enables straight or slightly wavy hair to flow backward rather than lie flat against the head.
If you want to see some mullet shape but don’t want to commit to a lengthy tail or a lot of top styling, this is a good choice.
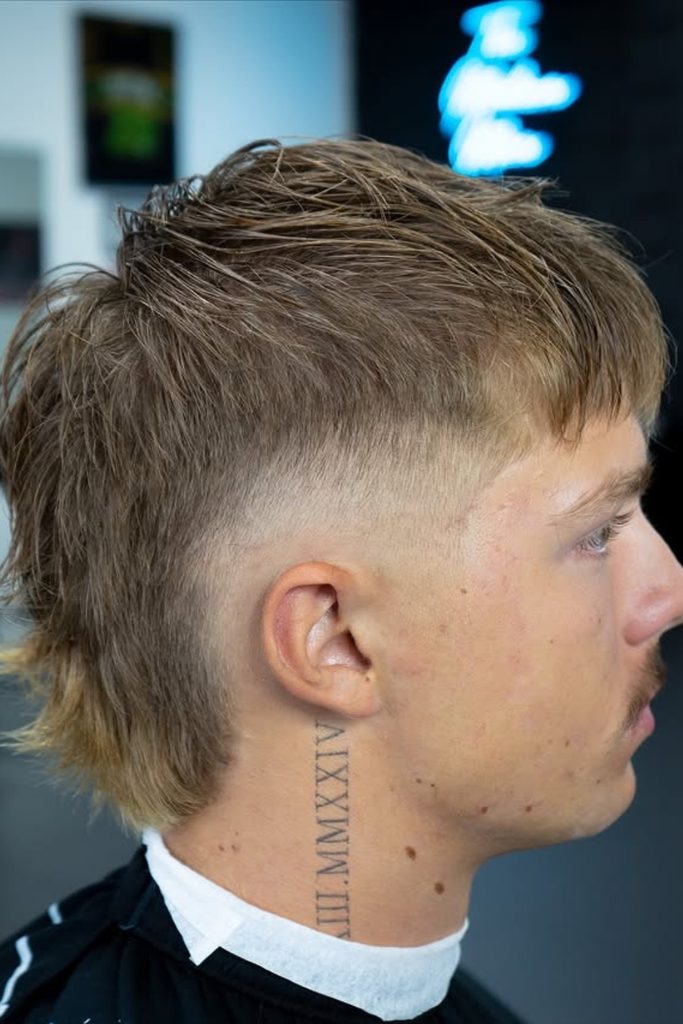
Slick It Back
For a more polished look, comb the longer top back and keep the drop fade low enough to retain rear weight.
That more refined approach helps the haircut look more polished but yet leaves the length behind the ear to read as a mullet.
Use a light cream or pomade on damp hair and finger comb it back so that the result is flexible, not glossy.
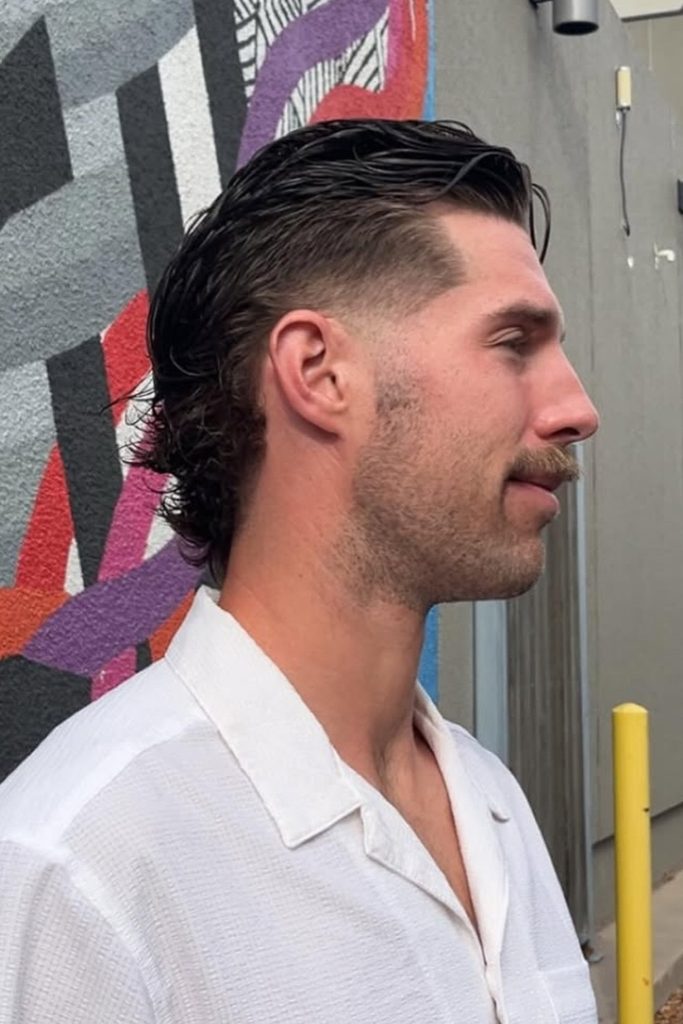
Control The Bulk
Thick curls can hold a lot of form, so keep the top full and let the fade take away the weight around the sides.
A tight back keeps the curls seeming deliberate, not extending too much and overpowering the silhouette from behind.
Request curl-friendly layering across the crown as cutting one blunt line might leave dense texture stacked awkwardly through the back.
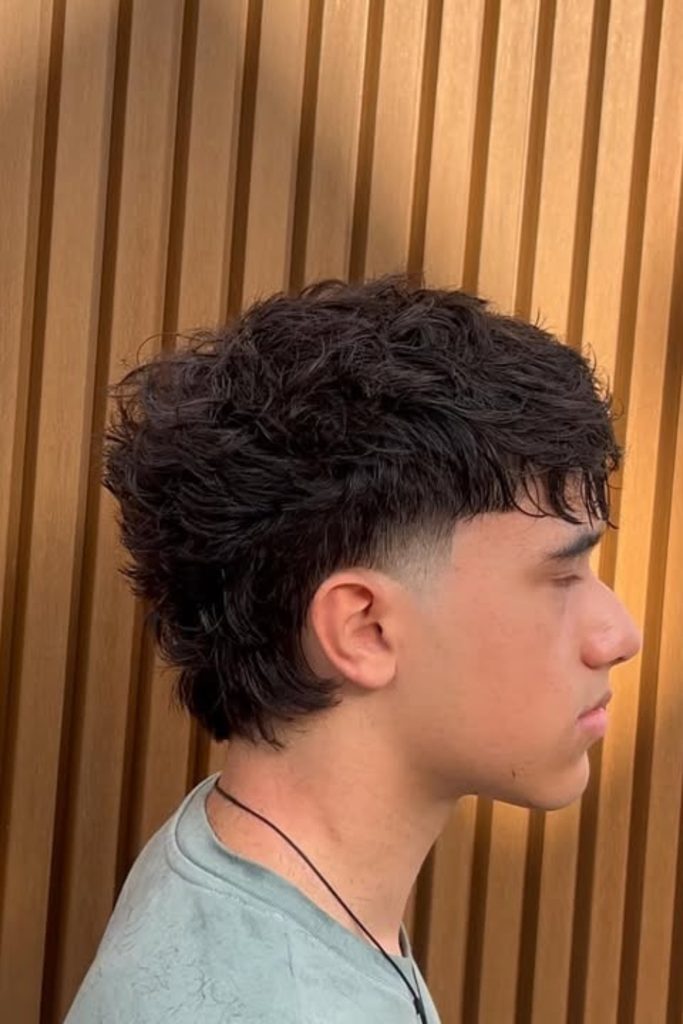
Start With Short
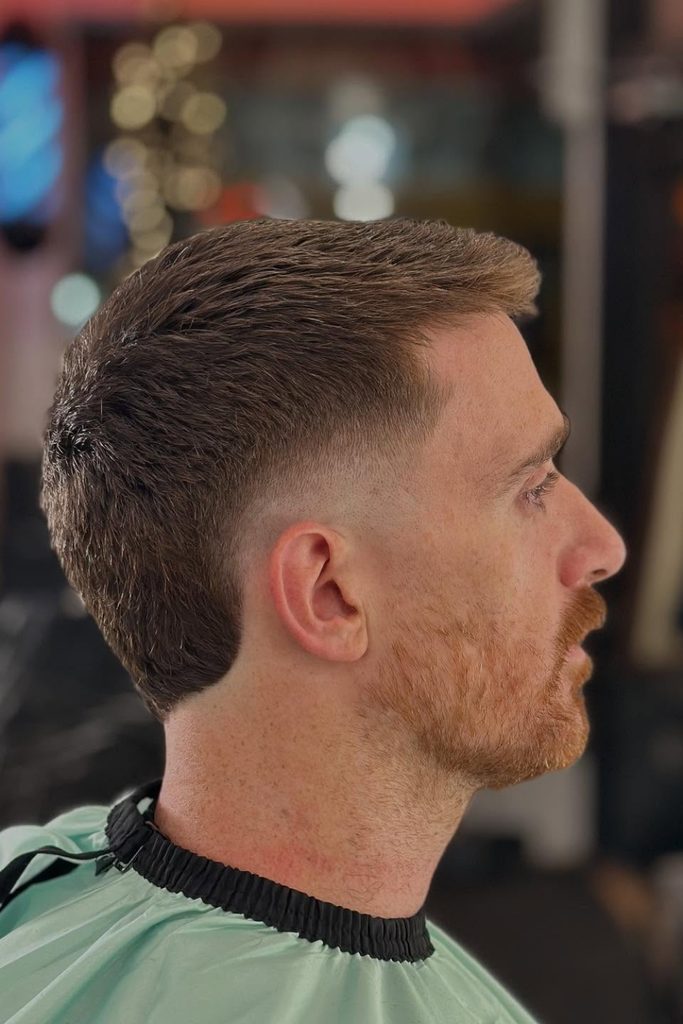
For a near-nothing mullet length, keep the nape clean and let the drop fade shape things:
This shorter variant is easier to maintain and provides you the profile of a mullet, without the dramatic tail.
If you are testing the style first, go for it, as it is much easier to grow the back out longer later than to fix overcut length.
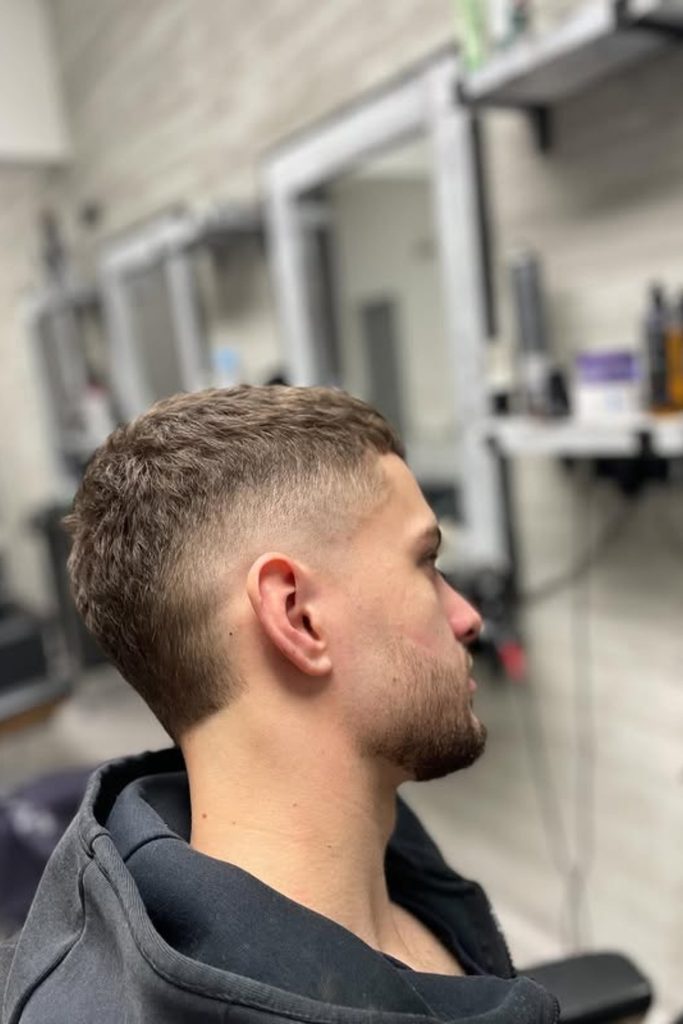
Keep Curls Connected
Curly hair is inherently voluminous so the safest option is taming the sides without stripping the texture that gives this cut character.
Leave sufficient curls at the top to flow seamlessly toward the rear, allowing the fade to descend past the ear.
A little curl cream will define but avoid strong products that will collapse the contour and leave the top flat.
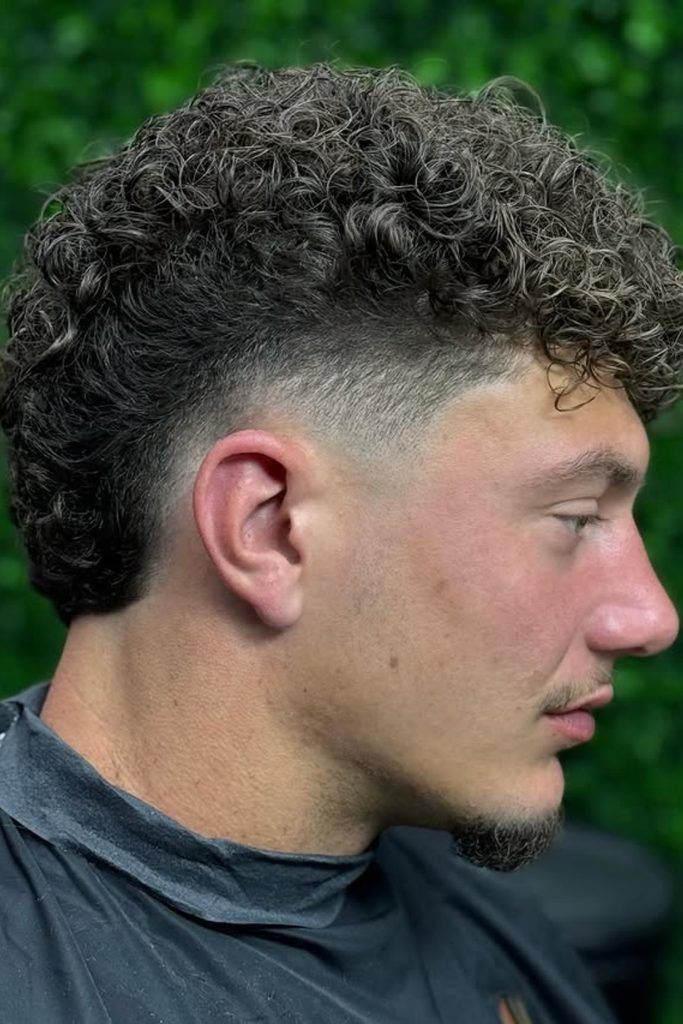
Preserve The Width
If you have thick straight hair, you’ll want extra width behind the fade, particularly if you want the back to look full.
Instead of thinning out the tail, ask your barber to take bulk off of the crown so the profile is balanced overall.
This larger form also allows you to grow the mullet out longer without feeling like the sides are too exposed.
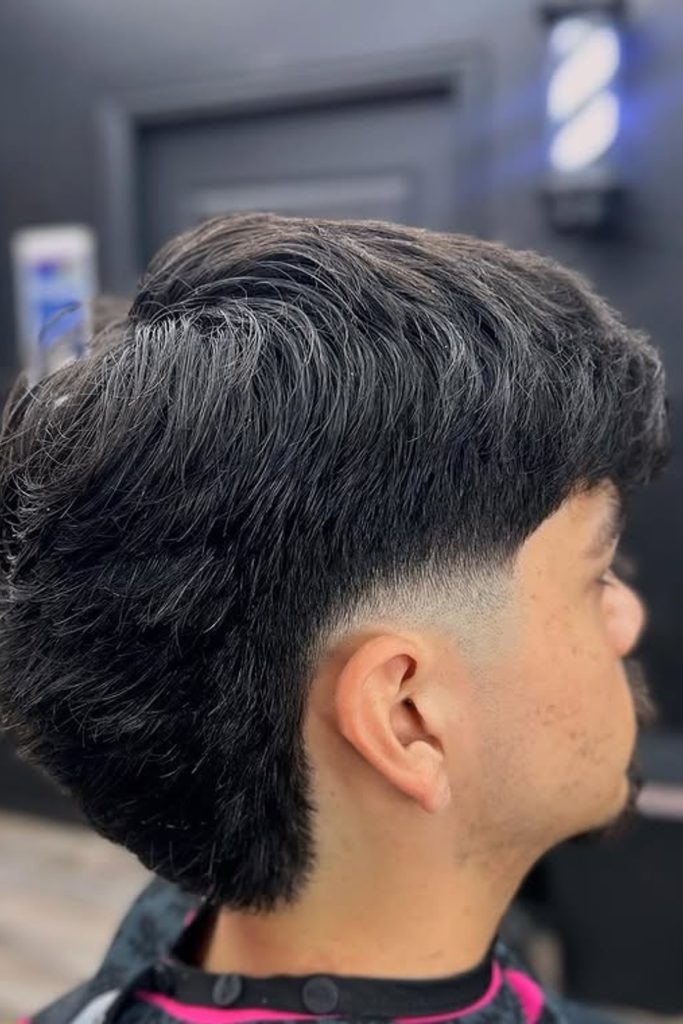
Let Waves Break
If the haircut has enough separation on its own naturally then avoid over-texturizing the crown as natural waves already provide movement.
The softer drop around the ear keeps some side weight to assist the longer back flow into the top more easily.
While still damp, scrunch in a light style cream, then leave the finish loose instead than forcing every strand into place.
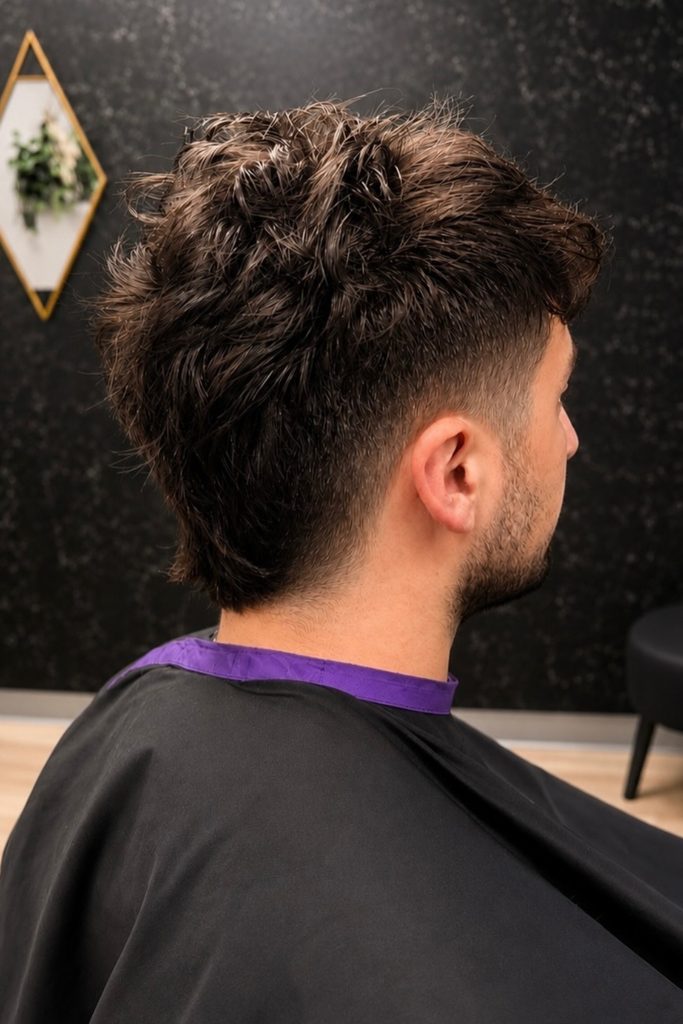
Test The Shape
If you’re not convinced about a lengthier mullet, opt for a compact back and allow the dropped fade shape the profile.
This style is easier to wear, keeping the nape short, but yet providing you enough contrast to discern the mullet orientation.
It’s also a good practical starting place if you want to grow the back gradually with less change on the fade.
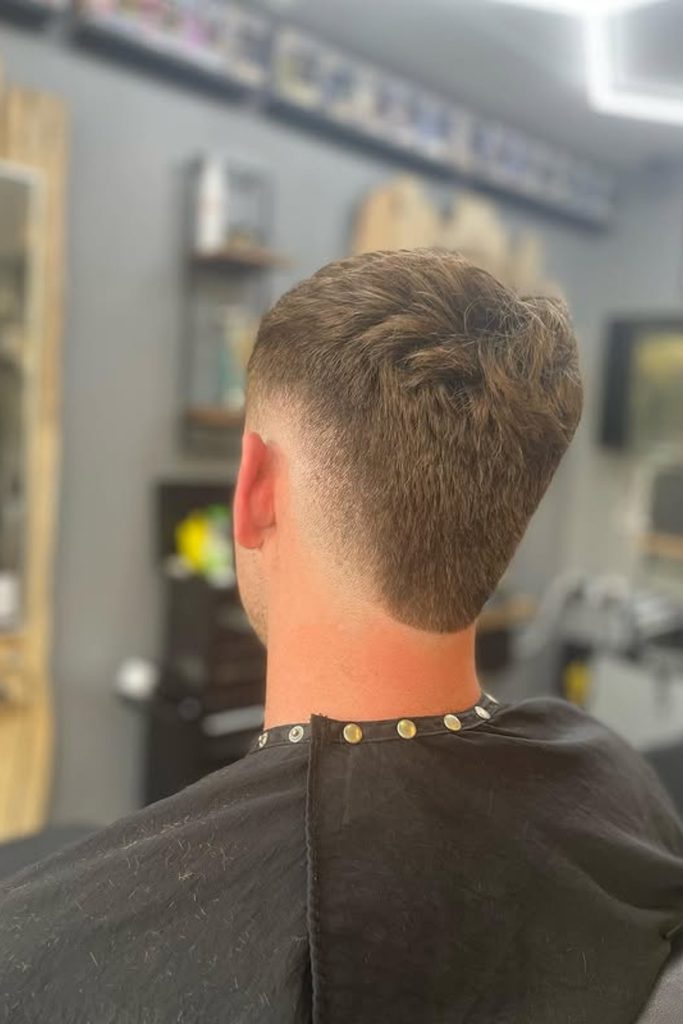
Frame The Texture
A crisp drop fade can sharpen up the sides without taking anything away from the texture when most of the volume is in the curls.
Leave enough length behind the ear so the back is still visible, especially if you want a softer transition than a mohawk.
A distinct beard can go hand-in-hand with the crisp fade, but the hairstyle still shines when the curl shape stays front and center.
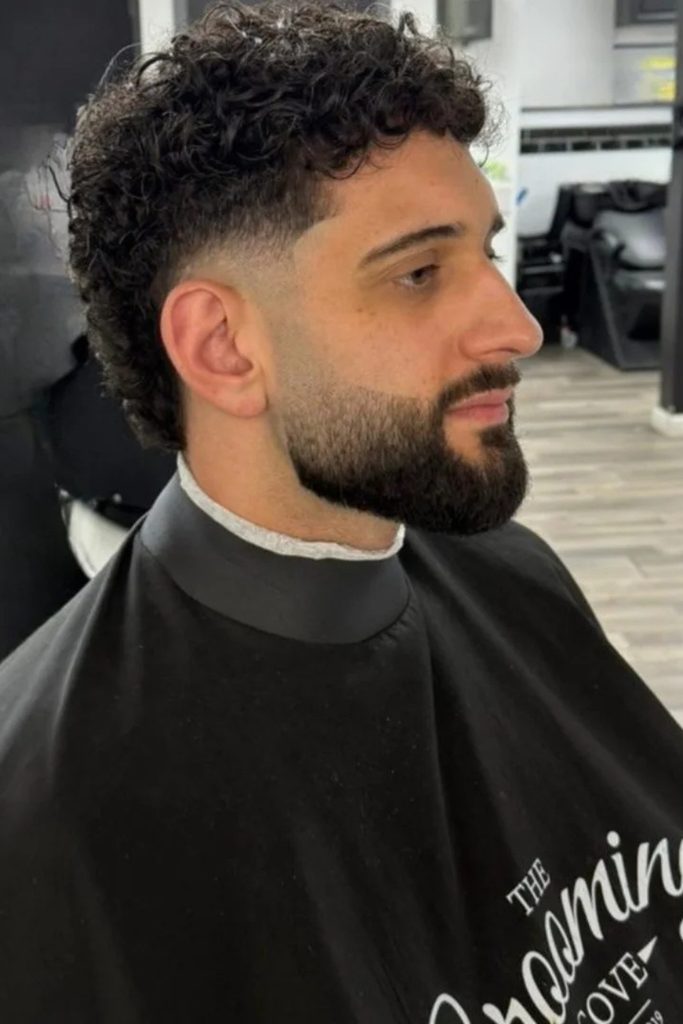
Keep It Compact
If you want a subtle mullet, keep the back short but much longer than the fade around your ear.
Ask for a low drop that follows the contour of your head, since a higher fade can take away too much of the weight in the back.
This shorter style is a winner for straight hair and grows out so beautifully. That makes it easy to keep looking good without lots of visits to get it trimmed.
FAQs
Is a Drop Fade Mullet the Same as a Burst Fade Mullet?
No. A burst fade will curve tight to the ear and a drop fade will drop lower behind the ear to the rear.
Both can be mulletted but they have very different side profiles so make sure to bring a clear reference photo to your barber.
How Often Should You Trim a Drop Fade Mullet?
If you like the fade to be crisp, you might want to get your sides touched up every two to three weeks.
Generally the longer back and top will need reshaping less often. About every 4-6 weeks depending on your growth and how much length you wish to preserve.